ABL / Data Upload Review / Input History / Detail Receivables
Detail Receivables
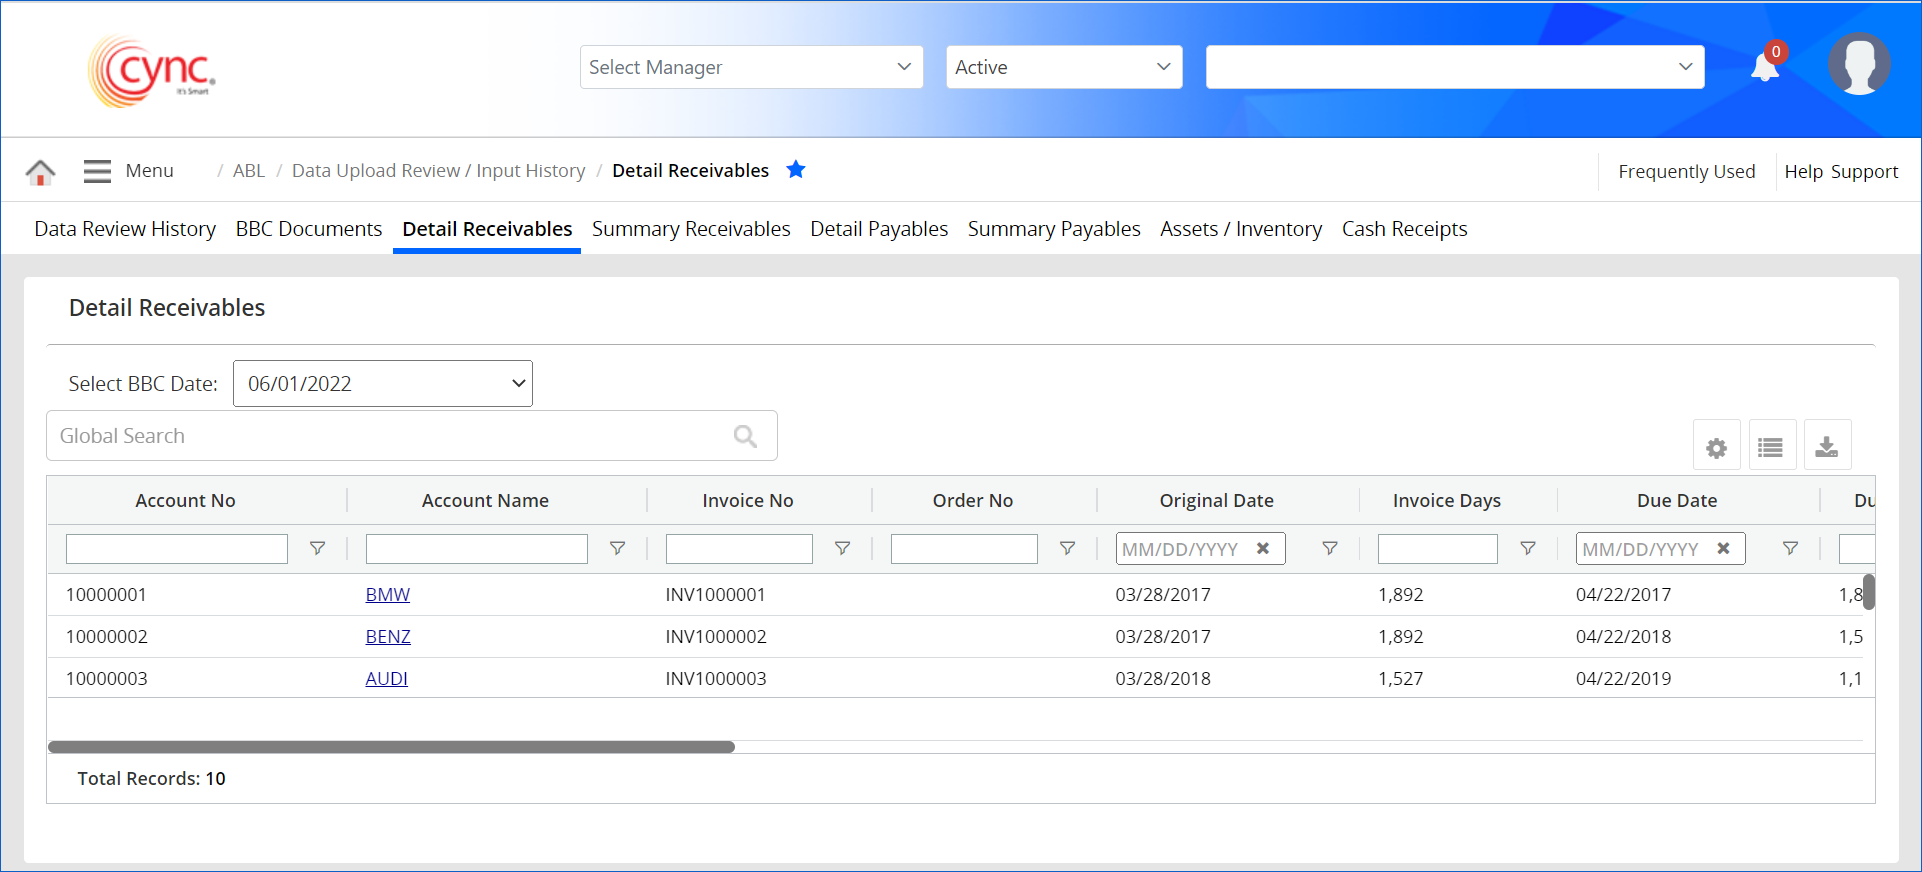
Detail Receivables page displays history of the receivables that are associated with current BBC. It shows the details of the receivables that are uploaded or manually created.
Select the BBC date first from the drop-down available in the Detail Receivables page. Since this is historical data, the Detail Receivables page displays the information that cannot be edited. However, Users can export the data.
|
Table of Contents |
Navigation: ABL → Data Upload Review / Input History → Detail Receivables
Refer to the Screenshot below:
Fields and Descriptions
| Fields | Descriptions |
| Account Number | Displays debtor’s account number. |
| Account Name | Displays debtor’s account name. |
| Invoice No | Displays invoice number. |
| Original Date | Displays original invoice date. |
| Invoice Days | Specifies the invoice days for the particular invoice. It is calculated based on the invoice original days with BBC date. |
| Current Amount | Displays the invoice amount that is current. |
| Due Date | Displays invoice due date. |
| Due Days | Specifies the due days for the particular invoice. It is calculated based on the invoice due days with BBC date. |
| Ineligible Reason | Displays ineligible reason code for a particular parameter name. |
| Status | Displays the invoice status. |
| Parameter Name | Displays the collateral name that the invoice is assigned to. |
| Invoice Original Amount | Specifies the invoice amount. |
| Future, Current, Over 30, Over 60, Over 90, and Over 120. | Specifies the bucket values for a particular debtor. |
| Balance Amount | Specifies the balance amount of a particular debtor. |
| Retention | Specifies the retention bucket value. |
Follow the below steps to change the column properties:
1. Take the cursor to the desired column.
2. Click on the ![]() button. The following options will be displayed. Use any of the options given below.
button. The following options will be displayed. Use any of the options given below.
Refer to the screenshot below:

Global Search Feature
In the Detail Receivables page, users can search for the accounts in Global Search using any account-related data such as account name, account number, or date.
The following are the features of the Global Search Facility:
1. Global Search supports multiple-column matching. The global search bar matches the input with all the column data in the Detail Receivables page.
2. Users can search in multiple columns by using spaces between the input values. For example, BMW INV1000001 where BMW is an account name and INV1000001 is an account number.
3. Global search supports alphabetical, numerical as well as alphanumerical inputs. A numerical value search is allowed with commas and decimals in it.
4. The search is carried out for all the records available in the Detail Receivables page.
5. Users can search for dates in MM/DD/YYYY format.
The search box below the column names can be used to search the Detail Receivables data from the columns. The Detail Receivables data columns have filter options beside the search box.
Refer to the screenshot below:

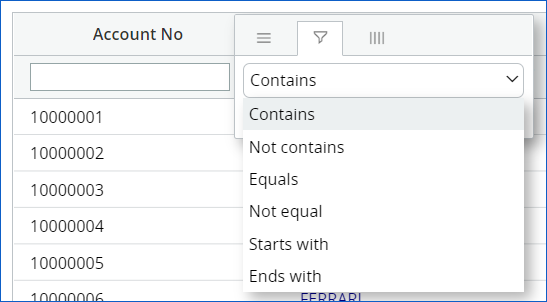
Follow the below steps to filter Detail Receivables column data:
1. User can use filter option in two ways.
a. Click on ![]() button next to search bar in respective column.
button next to search bar in respective column.
b. Click on ![]() button on the right side of respective column and choose options under
button on the right side of respective column and choose options under  button.
2. Select the desired option from the drop-down data.
Refer to the screenshot below:
Save Display View
Save Display View facilitates saving the current view of the grid with a name or label. The Save Display View option is available by clicking the gear icon at the right top of the grid.
Columns can be interchanged by clicking and dragging on the column heading.
The Global Search filter will not be saved in Save Display View.
Follow the below steps to save the Display View data:
1. Use the search options or add date values given below the column names to filter the clients’ list.
2. Enter the Display View Name in the Display View field.
3. Add the Description .
4. Click on the Save button. Display View is saved successfully.
Refer to the screenshot below:
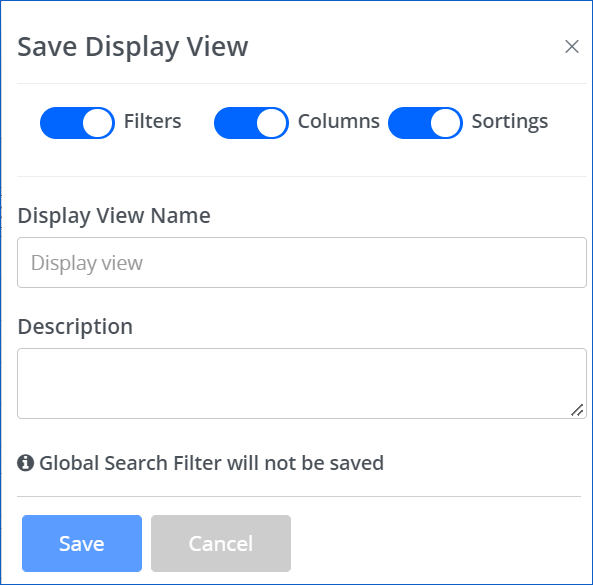
All three toggles, such as Filters, Columns, and Sortings are enabled by default.
On disabling any of the toggles, even if a filter is applied to a column or if a column reposition is done or if a sort is applied, the same will be ignored based on the disabled toggled on creating the Saved View.
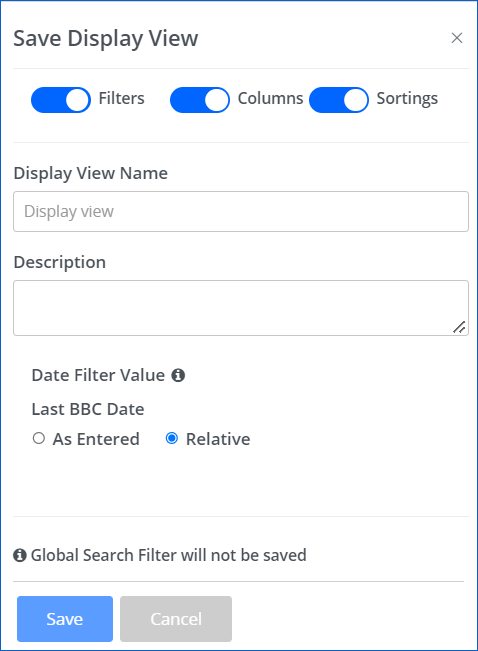
When any date is selected as a filter value, select any one of the options (As entered or Relative) given for the Last BBC Date in the Save Display View box.
1. As Entered - If As Entered option is selected to create Saved View, application will consider the exact date selected in the Date Filter column.
2. Relative - If Relative option is selected to create Saved View, application will consider the exact date selected in the Date Filter column and display the grid with the relative date applied in the filter.
Refer to the screenshot below:
Fields and Descriptions
| Fields | Descriptions |
| Display View Name | Display View Name field facilitates the user to enter a name or label for the Display view being created. Example: PM John’s Active Clients. It is a mandatory field. The field accepts alphanumeric and special characters with a character limit of 50. |
| Description | Description facilitates the user to enter a description for the Display View being created. Example: List of all Active Clients of Portfolio Manager John. |
| Save | Save button facilitates the user to save the view of the current grid displayed. |
| Cancel | The Cancel button facilitates the user to abort the Save Display View action on clicking the button. |
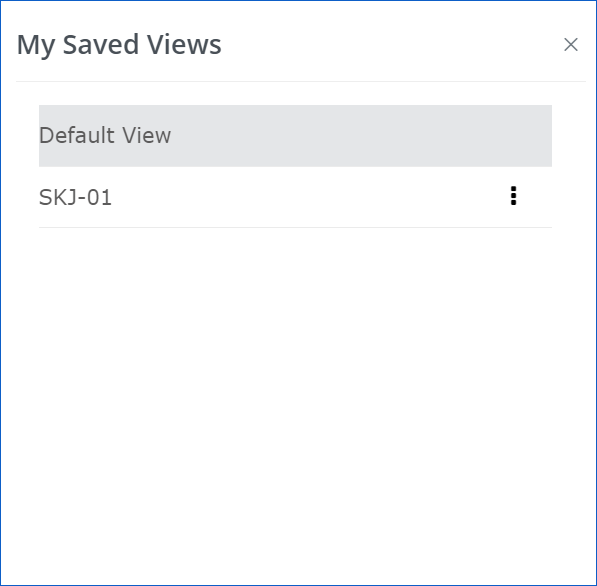
My Saved Views
My Saved Views displays all grid views saved via Save Display View and which can be accessed by clicking the list icon on the right top corner of the grid.
Refer to the screenshot below:
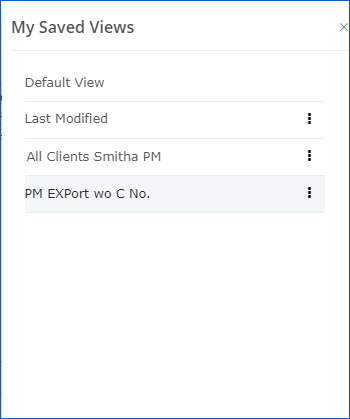
Default View in My Saved Views
1. Default View - It is the default view of Cync grid view.
2. Last Modified - Last Modified option displays the grid as per the last modification the user has done before implementing the Cync gird.
Refer to the screenshot below:
Editing and Deleting a Saved View
Follow the below steps to edit and delete the Saved views:
1. Click on ![]() icon next to the saved view name.
icon next to the saved view name.
Refer to the screenshot below:
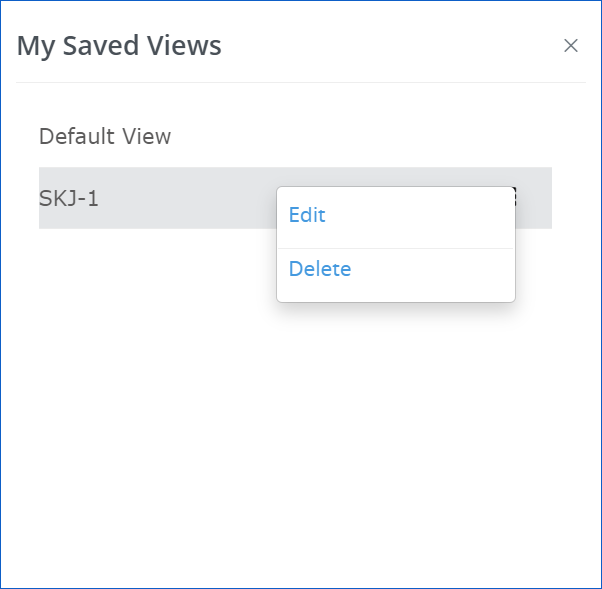
2. Click on the Edit link to edit default view. Edit the fields required and click on the Update button.
3. Click on the Delete link to delete the saved default view. Click on Confirm Delete button.
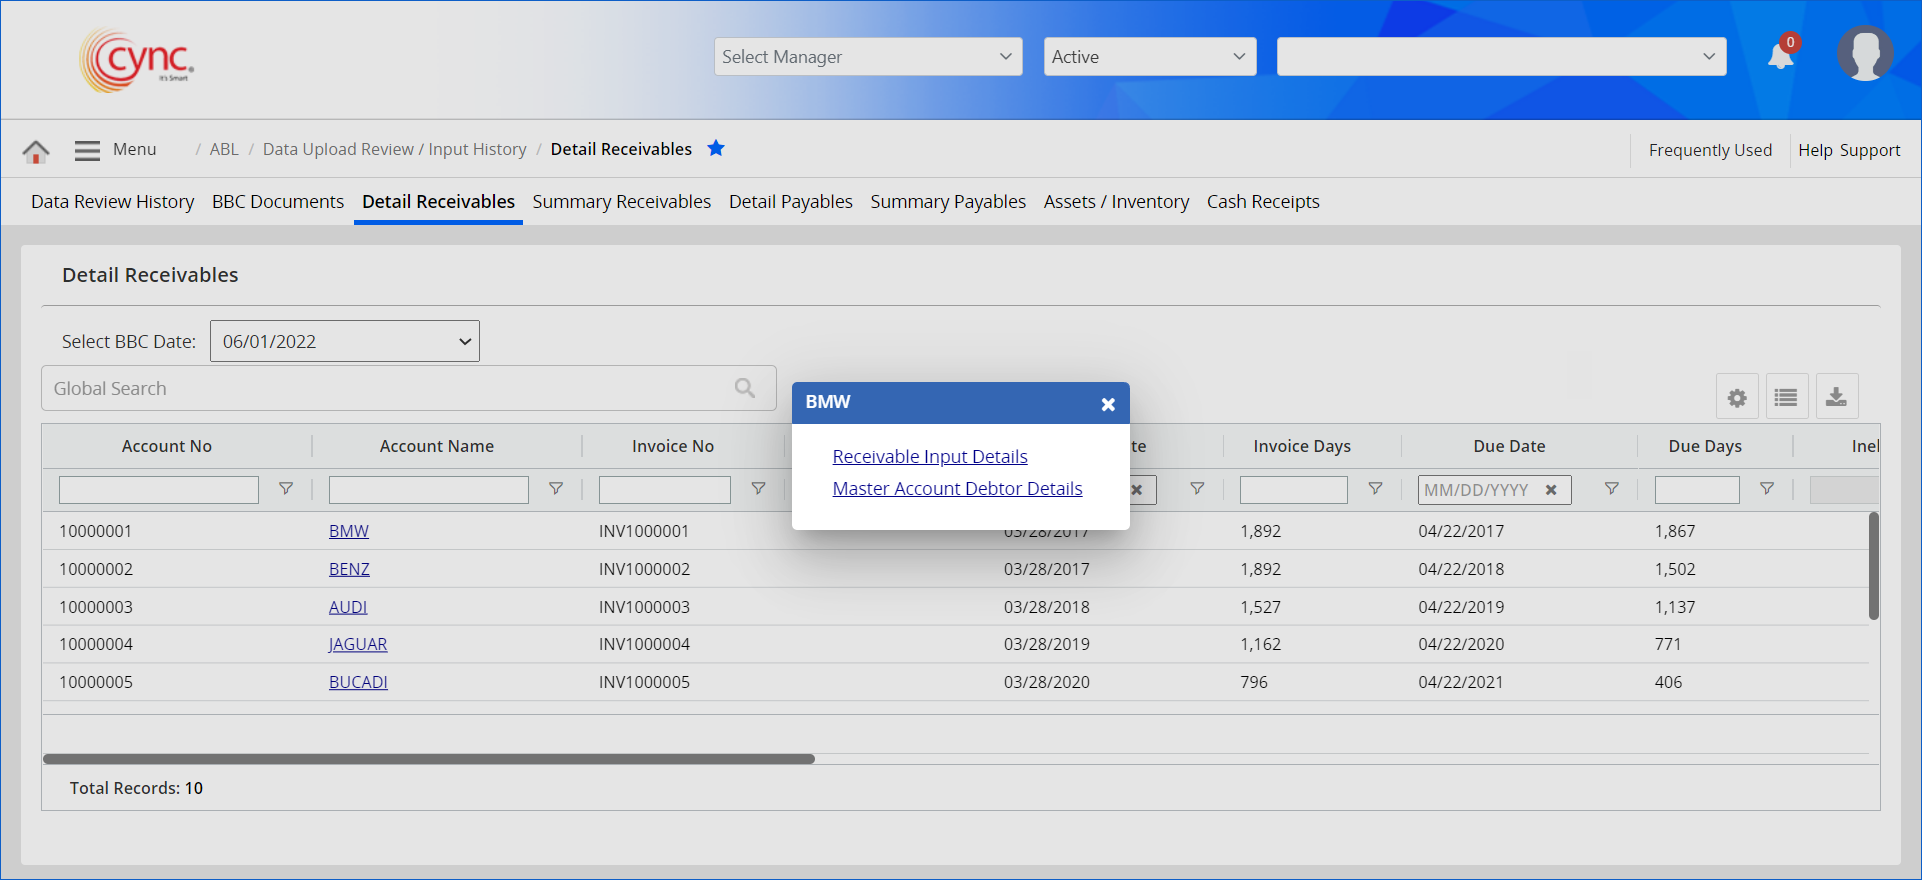
Receivable Input Details and Master Account Debtors Details
Follow the steps given below to see Receivable Input Details and Master Account Debtors Details.
1. Search the Account by using search box or filter options below the column names.
2. Click on the Account Name link.
Refer to the screenshot below:
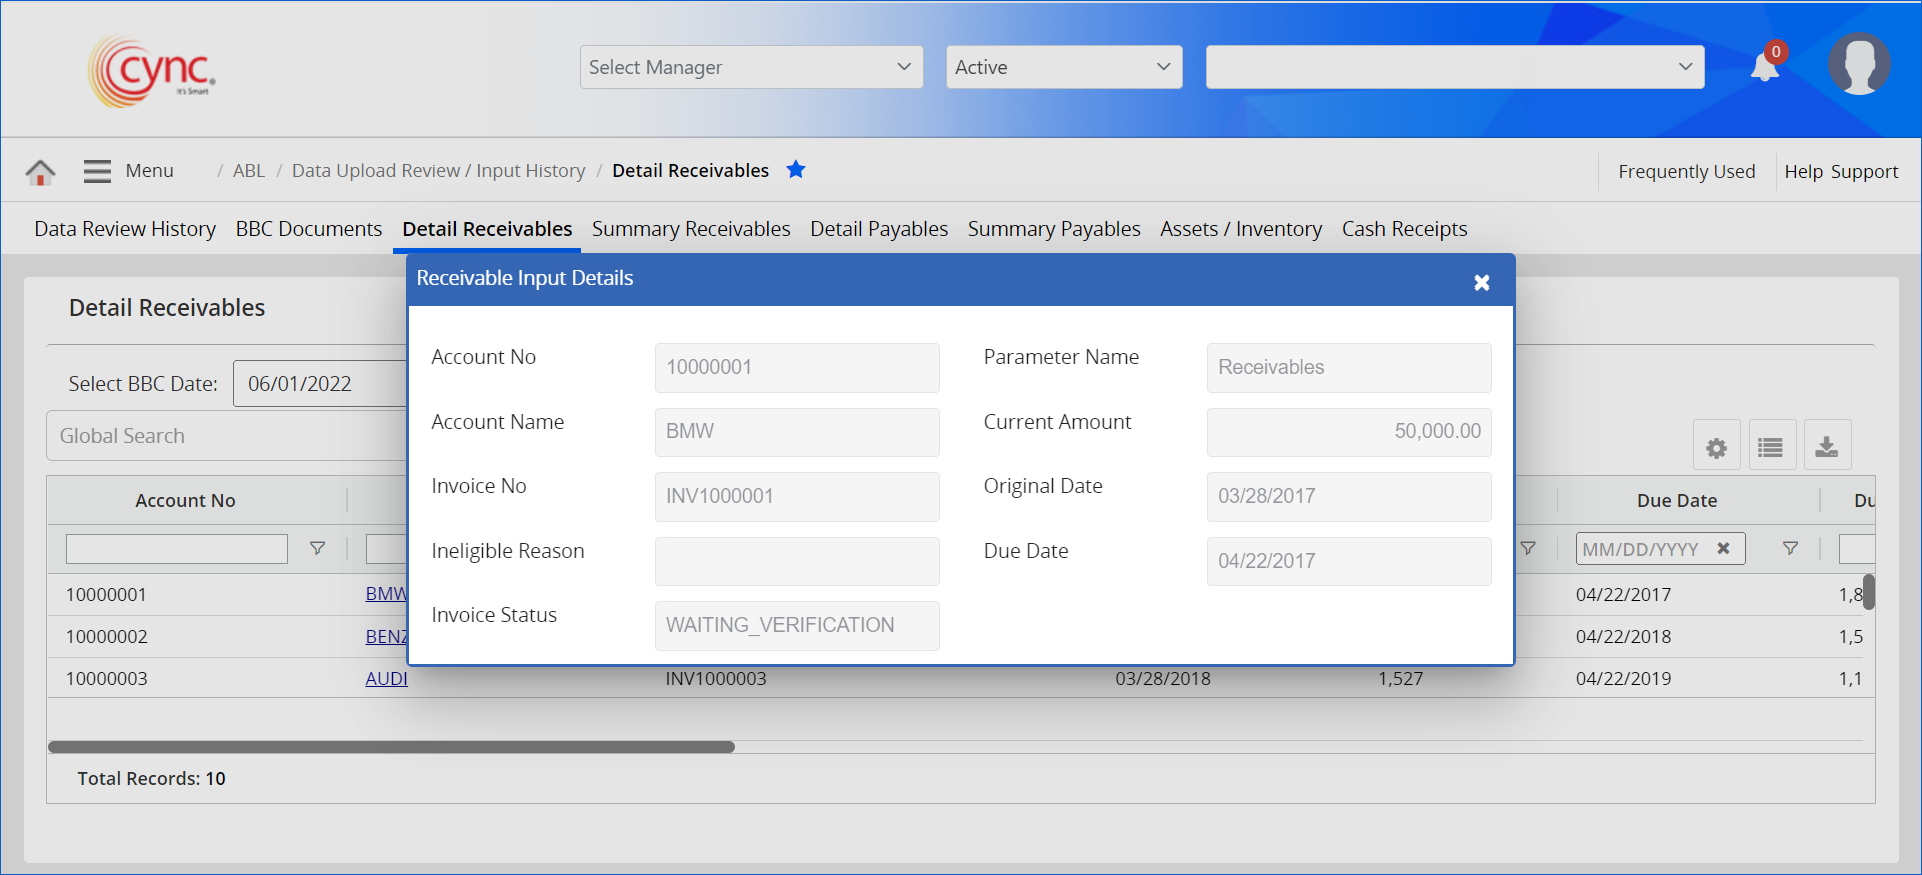
3. Click on the Receivable Input Details link. Cync will show Receivable Input Details of the account.
Refer to the screenshot below:
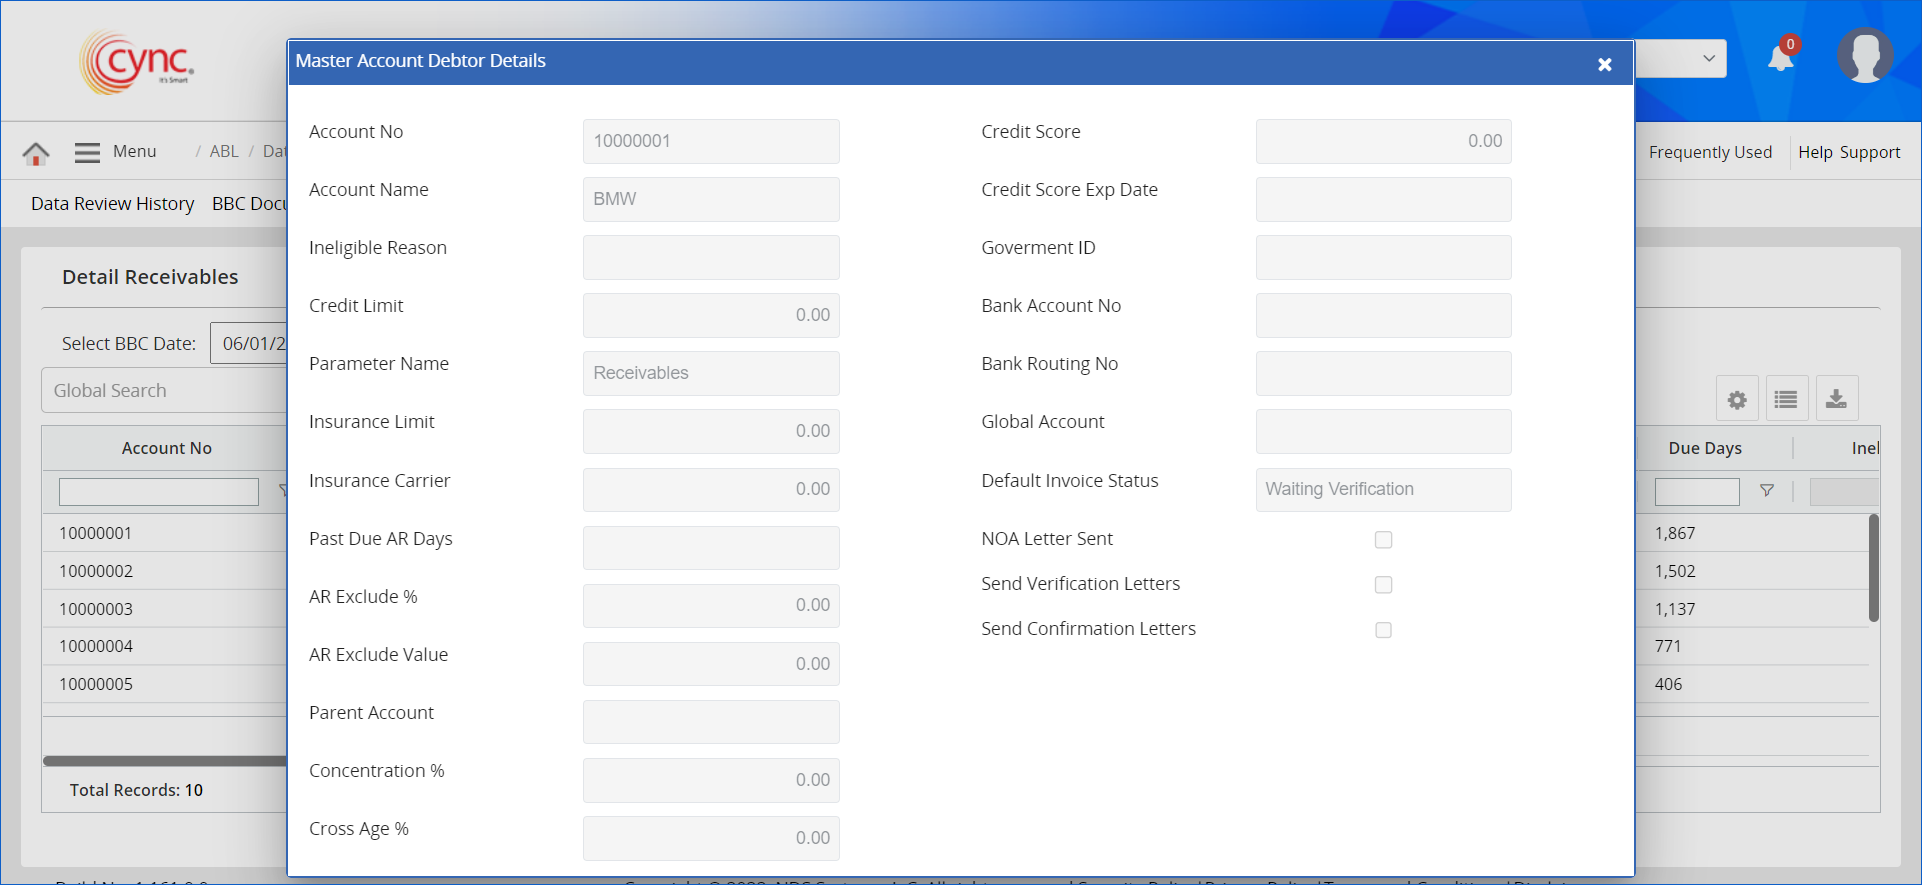
4. Click on the Master Account Debtors Details link. Cync will display Master Account Debtors Details of the account.
Refer to the screenshot below:
Follow the below steps to customize the fields on the Detail Receivables page:
1. Navigate to desired column.
2. Click on ![]() button on the right side.
button on the right side.
3. Click on ![]() button to customize the fields.
button to customize the fields.
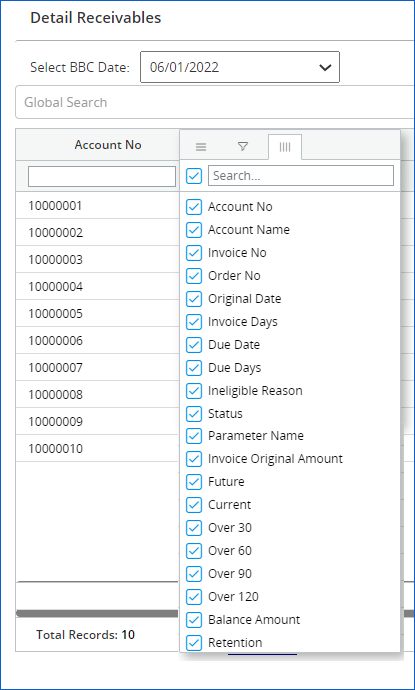
4. Users can customize the fields by checking or unchecking the checkboxes and using the search option.
5. The Detail Receivables page shows selected fields. Users can also map the user defined fields as required.
Refer to the screenshot below:
Export the Detail Receivables data
Users can export Detail Receivables data in two ways:
A. By Using Export Data option
1. Click ![]() button to export the Detail Receivables details.
button to export the Detail Receivables details.
2. Export Data pop-up appears.
Refer to the screenshot below:
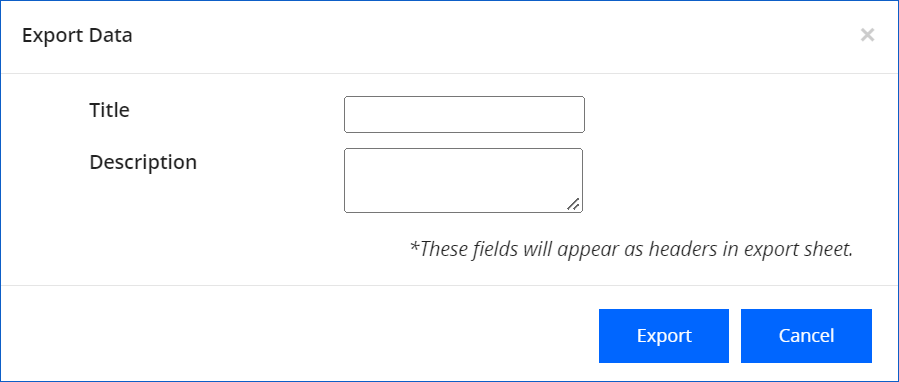
3. Add Title and Description .
4. Click on Export button. Detail Receivables data is successfully exported.
B. By using any of the grids
1. Right-click on any one of the grids.
2. Take the cursor to the arrow next to the Export option.
3. File format options will be displayed.
Refer to the screenshot below:
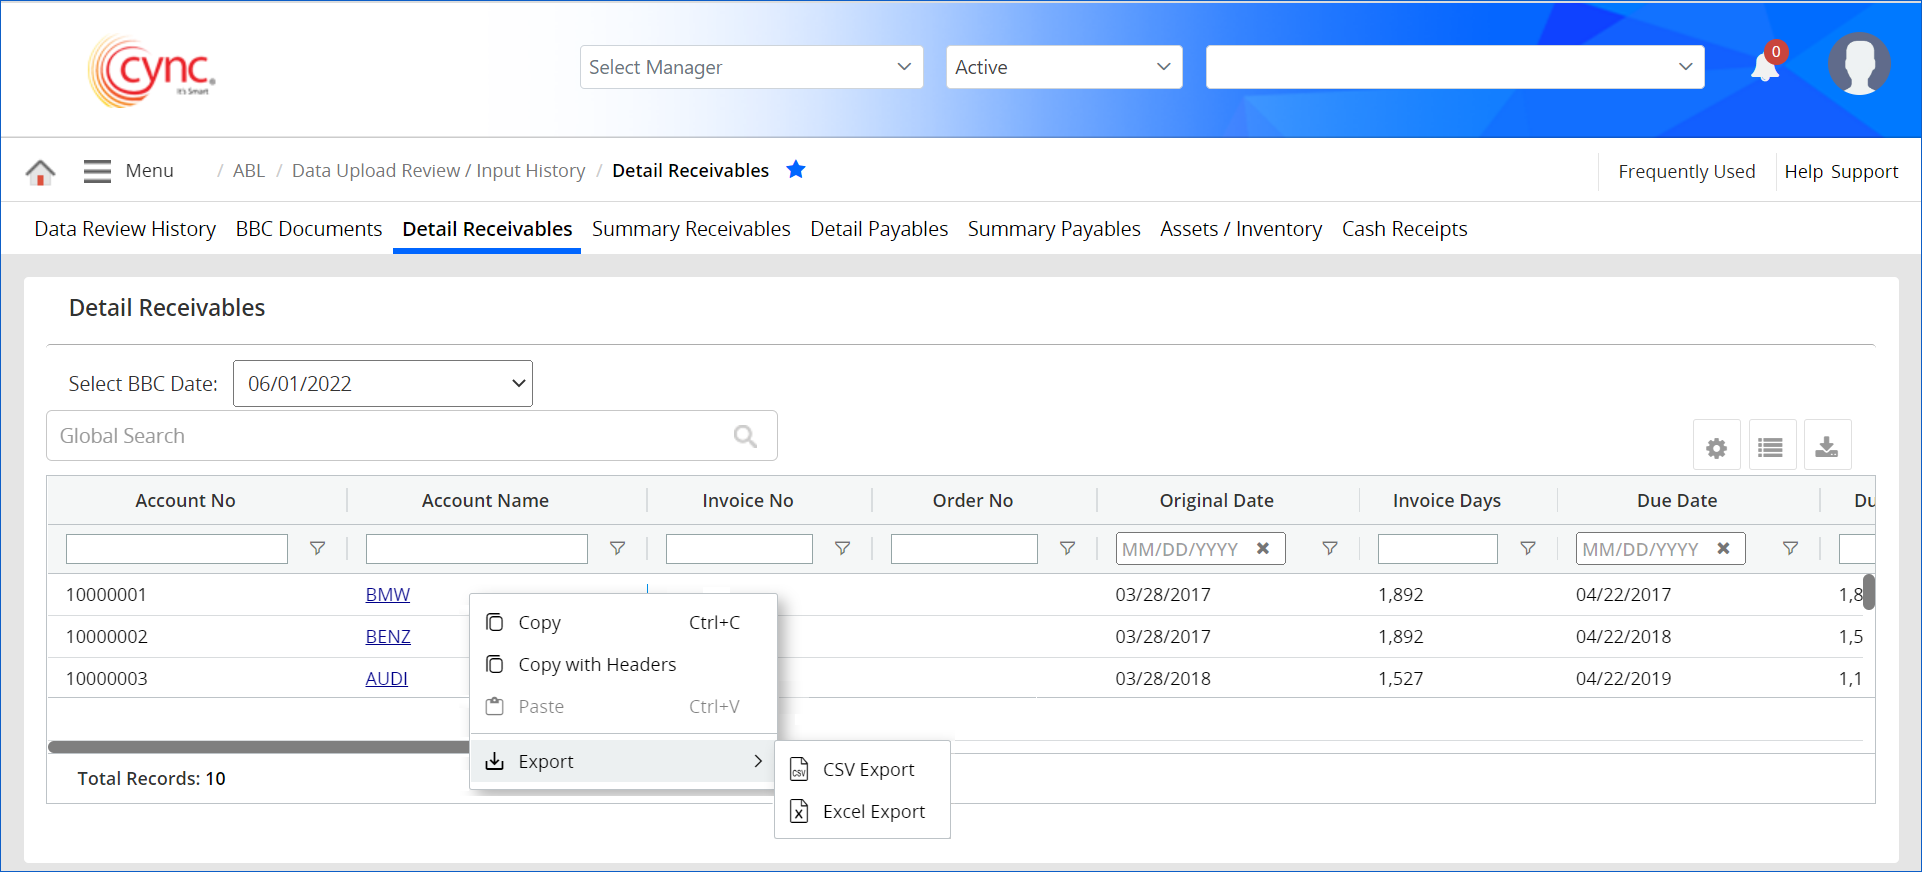
4. Click on the desirable format from the options CSV Export or Excel Export . Detail Receivables data is successfully exported.